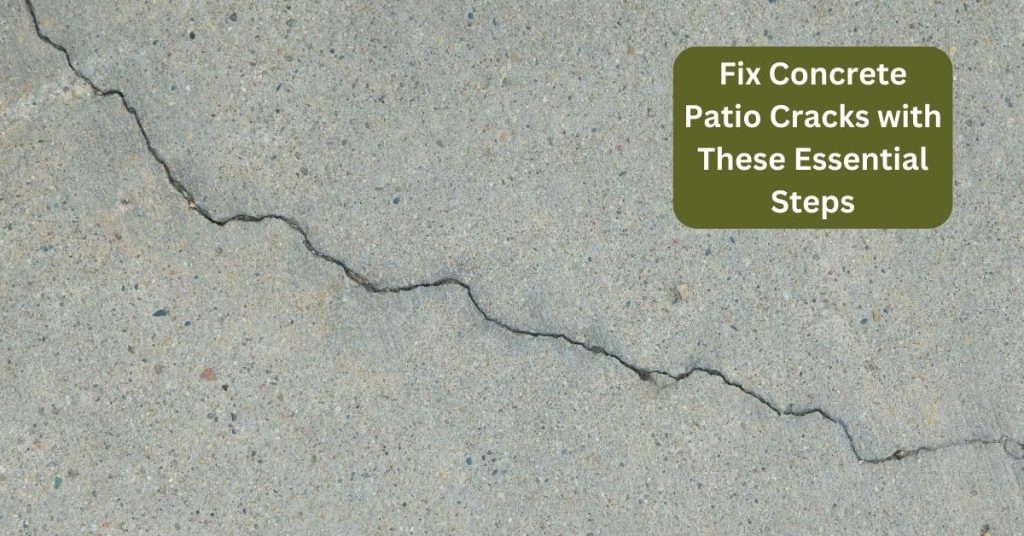
Fix Concrete Patio Cracks with These Essential Steps
Concrete patios can develop cracks over time due to shifting soil, freeze-thaw cycles, and general wear and tear. Repairing these cracks is crucial to maintaining the patio’s appearance and preventing further damage. Here’s a detailed guide on how to fix concrete patio cracks.
Assess the Crack Size
Before starting any repair, assess the size and severity of the crack. Small cracks (less than 1/4 inch wide) can be fixed easily with a simple filler. Larger cracks may require more extensive repairs.
Gather Your Tools and Materials
For this project, you’ll need the following tools and materials:
- Wire brush
- Vacuum
- Hammer and chisel
- Putty knife
- Caulking gun
- Concrete patching compound or polymer-based crack filler
- Epoxy injection system for larger cracks (optional)
- Protective gear (gloves, safety goggles, dust mask)

Step-by-Step Repair Process
- Clean the Crack
Start by cleaning the crack thoroughly. Use a wire brush to remove loose debris and dirt. Vacuum out any remaining particles to ensure a clean surface for the filler to adhere to - Widen the Crack
For better adhesion, widen the crack slightly using a hammer and chisel. This helps create a groove for the filler to sit in securely. Remove any loose concrete around the edges - Apply a Bonding Agent (Optional)
If the concrete is old or deteriorated, consider using a concrete bonding agent to enhance the bond between the old and new materials. - Fill the Crack
- For small cracks: Use a concrete patching compound or polymer-based filler. Mix according to the manufacturer’s instructions. Use a caulking gun to apply the filler into the crack, ensuring it fills the entire depth. Smooth the surface with a putty knife
- For larger cracks: Use an epoxy injection system. Mix the epoxy resin and hardener, then inject it into the crack. Ensure the epoxy fills the crack completely and smooth the surface
- Smooth and Level the Surface
After filling the crack, use a putty knife or trowel to level the filler with the surrounding concrete. This step is crucial for achieving a seamless finish - Allow to Cure
Let the filler or epoxy cure according to the manufacturer’s instructions. Typically, this will take at least 24 hours. Protect the area from foot traffic, dirt, and water during this period - Seal the Crack
Once the filler has cured, apply a concrete sealant to protect the repair. This will help prevent water infiltration and future cracking. Ensure the sealant covers the entire repaired area and blends with the surrounding surface
Additional Tips
- Avoid Heavy Loads: Do not place heavy furniture or items on the repaired area as it can weaken the surface.
- Use Proper Cleaning Products: Avoid harsh chemicals that can damage the concrete. Use cleaners specifically formulated for concrete surfaces
- Install Awnings or Pergolas: These can protect your patio from direct sunlight and weather elements, prolonging its life【9†source】.
- Avoid Deicers: In cold climates, avoid using deicing products as they can cause concrete deterioration. Let ice melt naturally or use sand for traction
Repairing concrete patio cracks not only enhances the appearance but also extends the life of your patio. By following these steps, you can ensure a durable and visually appealing repair.

